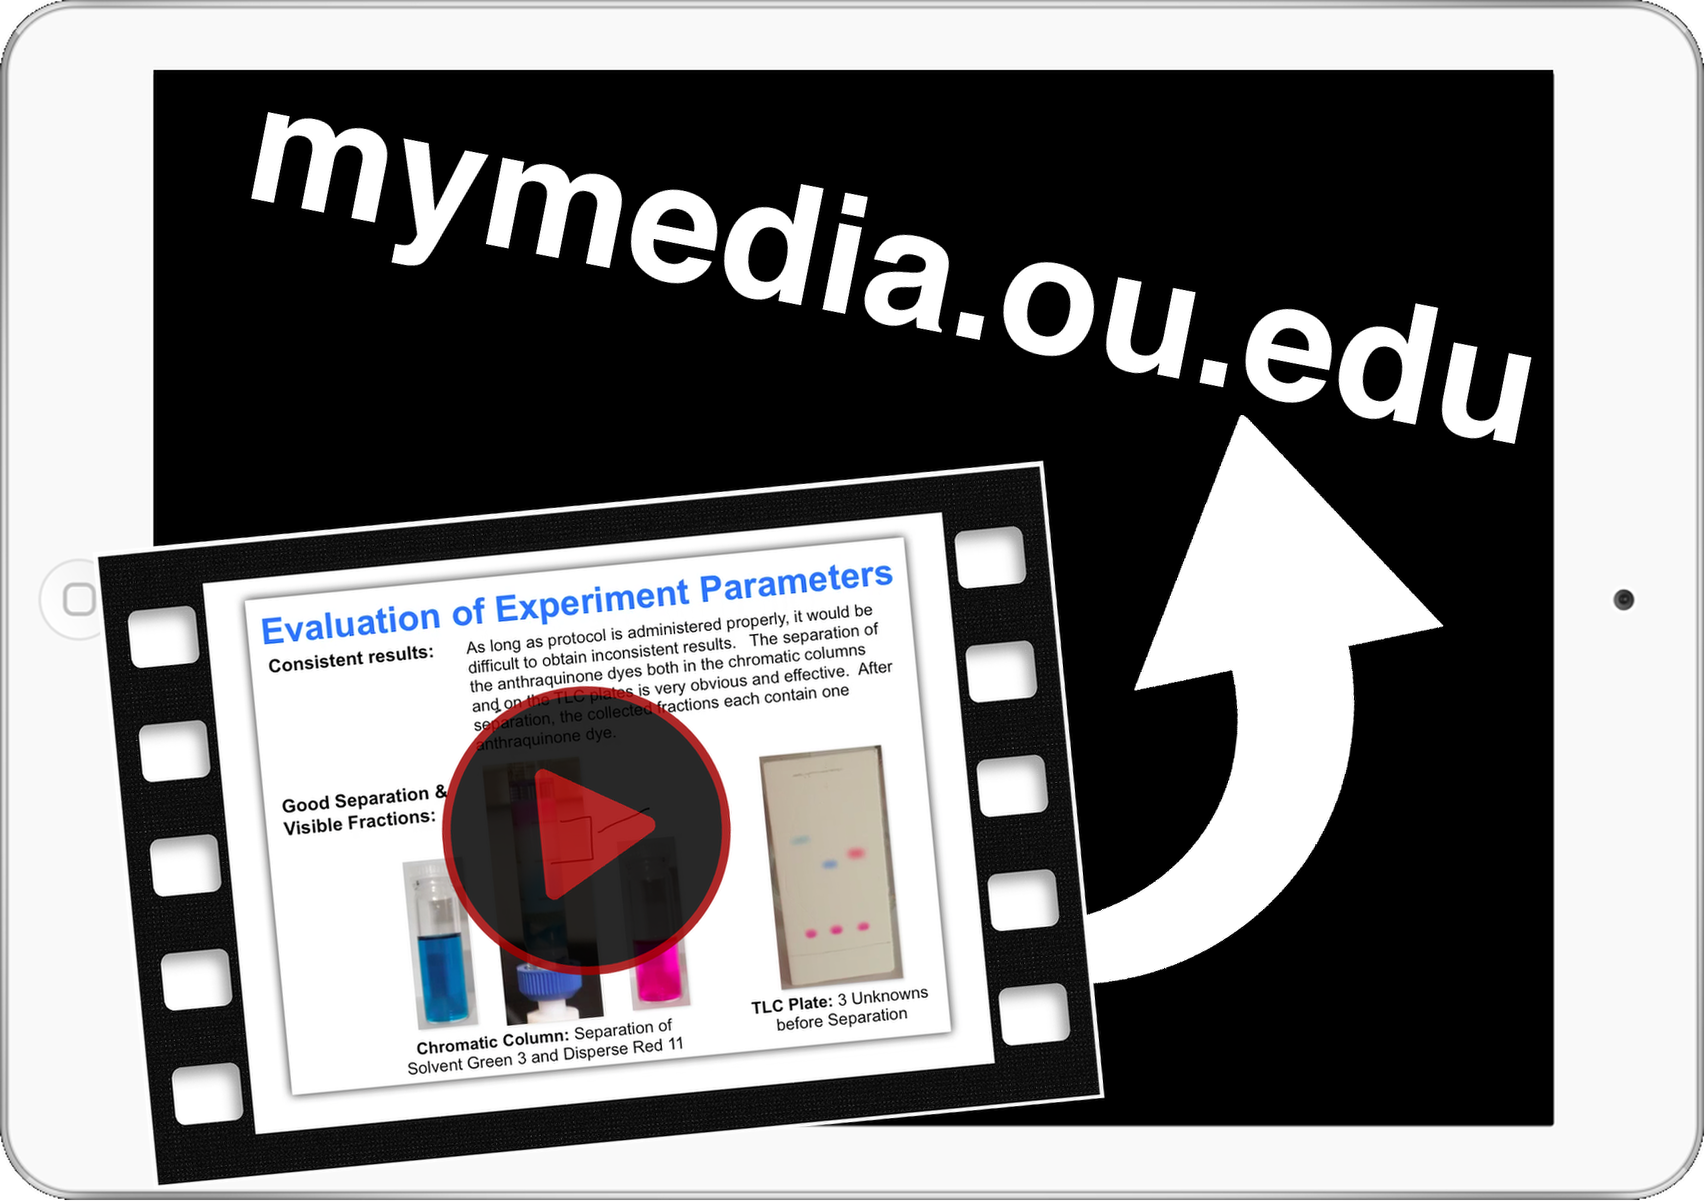
One of the best functions of the iPad is producing instructional videos. But how do you start? First, you will need access to an iPad (excluding the 1st generation model). Second, you will need appropriate software (Apps) and equipment (microphone). Third, you will need a website where you can post your videos.
Assuming you have access to an iPad, let’s talk about the Apps that are required to produce video content. My suggestion is using Explain Everything to record video and iMovie to edit that content. Explain Everything is a digital whiteboard App that allows annotations and audio to be recorded while iMovie is a video-editing App. There are a variety of other Apps available to record and edit video on iPad; of course you’re welcome to choose the ones you like and that meet your specific needs.
To create an instructional video on the iPad, the recording App should have this feature: the ability to export videos to the “Camera Roll” on the iPad. (The Camera Roll is the location where all the photos and videos you take on your iPad are stored. You can access the Camera Roll by opening the Photos App on the iPad.) Some Apps such as Educreations are great for producing videos, but they lack the ability to export recordings to the iPad’s Camera Roll.
Once a video has been recorded and exported to the Camera Roll, it is accessible to video-editing Apps like iMovie that allow you to polish your video. I typically use iMovie to trim excess silence off the end and beginning of a video. But this App features many editing options, like combining multiple video clips or recording audio voiceover on video.
I would also suggest using an external recording microphone while recording your video. Although audio quality from the internal iPad microphone is decent, an external microphone helps eliminate the buzz of ambient noises caused by air conditioning, fans, etc. Inclusion of an external microphone in your recording process will improve both the quality of your instructional video and the learning experience of your students.
There are some variants of microphones that are made specifically for the iPad. The Blue Spark Digital and the Blue Mikey plug directly into the iPad. Alternatively, you can use low-powered USB microphones with the iPad USB adaptor. I have been using the Blue Snowball (with USB adaptor) and am very pleased with the quality of the audio while recording.
After a video has been saved to the Camera Roll and edited by an App (e.g., iMovie), then the final step is uploading it to the internet to be shared. There are many websites that will allow you to upload videos, such as YouTube. However, the University of Oklahoma has a dedicated website, mymedia.ou.edu, for you to post your instructional videos. Here you can upload videos directly from your iPad. Once online, you can share videos with your students using a direct link or by integrating it into your D2L course page.
There are many instructional video styles that are beneficial to students. Step-by-step demonstrations of example problems, explanations of concepts, and unit overviews are just a few types of videos that could be beneficial. Keep in mind, the best instructional videos are purposeful and planned. They should only be a few minutes long and correspond to material that students might need to revisit multiple times.
iPad is one of the simplest and least expensive video tools to produce great instructional materials for your students. If you have any questions or would like some guidance on the production process, please contact the Center for Teaching Excellence at te***@**.edu.
Have you produced instructional videos before? Leave a comment below or tweet me your stories @CraZyIriShman7


